The Critical Final Step in Your Home Renovation
You've navigated the planning, endured the dust, and watched your vision take shape. The bulk of your home renovation project is complete, and the finish line is in sight. But before you pop the celebratory cork or hand over that final payment, there's one crucial phase left: the closeout. This isn't just about a final walk-through; it's a systematic process to ensure all contractual obligations are met, all work is completed to your satisfaction, and you have all the necessary documentation to protect your investment for years to come.
Many homeowners, eager to reclaim their space, rush this stage. However, a thorough closeout is your last, best opportunity to identify and rectify issues, secure warranties, and confirm legal compliance. Once your contractor and their team have dispersed, addressing problems can become significantly more challenging and costly. This article provides a comprehensive framework and checklist to guide you through a successful renovation closeout, empowering you to finish strong and with peace of mind.
Why a Closeout Checklist is Essential
A structured closeout checklist serves several vital purposes. It acts as your guide, ensuring no critical step is overlooked. It provides a clear, objective standard against which to measure the project's completion. It also forms the basis of your final discussions with your contractor, helping to prevent misunderstandings and disputes. By systematically verifying every detail, you safeguard your financial investment, ensure the longevity of the work, and maintain the value of your home.
How to Use This Guide
This guide is designed to be a practical tool for homeowners. We've broken down the closeout process into distinct phases, each with its own set of actions and considerations. Start by reviewing the Master Renovation Closeout Checklist below to get an overview. Then, delve into each section for detailed instructions and explanations. Use the provided checklists and prompts during your final walk-throughs and document collection. Remember to verify all local permits, licensing, contracts, technical requirements, and property conditions with your local authorities and professionals, as these can vary significantly.
Your Master Renovation Closeout Checklist
This master checklist provides a high-level overview of the critical steps involved in closing out your home renovation project. Refer to the detailed sections that follow for in-depth guidance on each item.
| Category | Action Item | Status | Notes |
|---|---|---|---|
| Phase 1: Final Walk-Through | Conduct a comprehensive exterior inspection. | ||
| Conduct a comprehensive interior inspection (room-by-room). | |||
| Test all new/modified systems (HVAC, plumbing, electrical). | |||
| Create a detailed punch list of incomplete or unsatisfactory items. | |||
| Agree on a timeline for punch list completion with the contractor. | |||
| Phase 2: Document Collection | Collect all final invoices and proof of payment. | ||
| Obtain all product and material warranties. | |||
| Collect contractor's workmanship warranty. | |||
| Receive copies of all final permits and inspection approvals. | |||
| Gather all product manuals, specifications, and care instructions. | |||
| Secure signed lien waivers from the general contractor and all major subcontractors/suppliers. | |||
| Obtain copies of all signed change orders and addenda. | |||
| Phase 3: Financial Settlement | Review the original contract against completed work and invoices. | ||
| Scrutinize the final invoice for accuracy and agreed-upon costs. | |||
| Confirm all punch list items are completed before releasing final payment. | |||
| Make final payment as per contract terms. | |||
| Phase 4: Homeowner Archive | Organize all collected documents (digital and/or physical). | ||
| Create a maintenance schedule for new systems/materials. |
Phase 1: The Thorough Final Walk-Through
The final walk-through is your opportunity to meticulously inspect every aspect of the completed work. This is not a casual stroll; it's a critical examination to ensure everything meets the agreed-upon standards, quality, and functionality outlined in your contract and change orders. Ideally, you should conduct this walk-through with your general contractor, taking detailed notes and photographs. Don't be afraid to be thorough; this is your home and your investment.

Exterior Inspection: Beyond the Obvious
Start your inspection from the outside, even if the primary renovation was interior. Look for signs of damage from construction traffic, debris, or changes to the exterior that weren't part of the plan. Consider:
- Landscaping and Hardscaping: Is the yard clear of debris? Are plants, irrigation, or hardscaping (patios, walkways) undamaged or restored as agreed?
- Exterior Finishes: Check siding, roofing, windows, and doors for any dings, scratches, or incomplete painting/sealing. Ensure proper flashing around new windows or penetrations.
- Drainage: Verify that downspouts are properly connected and that grading directs water away from the foundation, especially if foundation work or significant exterior changes occurred.
- Utilities: Confirm that exterior utility connections (gas, water, electrical) are secure and undamaged.
Interior Inspection: Room by Room, Detail by Detail
This is where the bulk of your inspection will occur. Go through each renovated space systematically. Don't just glance; touch, open, close, and test everything. Bring a notepad, a camera or smartphone, and a small flashlight.
Kitchens and Bathrooms: High-Traffic, High-Detail Areas
These rooms often involve complex systems and intricate finishes. Pay extra attention here:
- Cabinetry: Open and close all doors and drawers. Check for proper alignment, smooth operation, and any scratches or damage. Ensure hardware is installed correctly and securely.
- Countertops: Inspect for chips, cracks, scratches, and proper sealing. Verify seams are tight and inconspicuous.
- Plumbing Fixtures: Turn on all faucets (hot and cold), flush toilets, and run showers. Check for leaks, proper water pressure, and drainage. Ensure drains are clear.
- Appliances: If new appliances were installed by the contractor, ensure they are correctly connected, level, and fully functional. Test all settings.
- Tiling and Grout: Look for consistent grout lines, full grout coverage, and no cracked or loose tiles. Ensure proper caulking where tile meets other surfaces (e.g., countertops, showers).
- Ventilation: Test exhaust fans in bathrooms and range hoods in kitchens for proper operation and venting to the exterior.
Living Spaces and Bedrooms: Finishes and Function
These areas focus more on aesthetic finishes and general functionality:
- Walls and Ceilings: Inspect paint for even coverage, drips, and clean lines. Check for any cracks, nail pops, or uneven textures.
- Flooring: Look for scratches, gaps, or unevenness. Ensure baseboards and trim are properly installed, painted, and caulked.
- Doors and Windows: Open and close all new or renovated doors and windows. Check for smooth operation, proper latching, and weatherstripping. Ensure screens are installed where applicable.
- Lighting: Test all light fixtures, including dimmers and switches. Confirm they are securely installed and functioning correctly.
- Outlets and Switches: Verify all electrical outlets and switches are working. Use a small appliance or phone charger to test each one.
Basements, Attics, and Utility Areas: Hidden Issues
Don't forget the less glamorous but equally important spaces:
- Insulation: If insulation was part of the project, check for proper installation and coverage.
- Access Points: Ensure attic and crawl space access points are clear and properly sealed.
- General Cleanliness: Confirm that all construction debris, dust, and materials have been removed from these areas.
Systems Check: Ensuring Full Functionality
Beyond individual fixtures, test the overall performance of your home's critical systems.
HVAC Performance
If your HVAC system was touched, ensure it's operating efficiently. Test both heating and cooling functions (if applicable) and verify that thermostats are working correctly and maintaining desired temperatures. Check for proper airflow from all vents.
Plumbing Integrity
Run water for an extended period in various fixtures simultaneously to test water pressure and drainage. Look for any signs of leaks in exposed pipes or under sinks. Pay attention to any unusual noises.
Electrical Safety and Operation
Beyond individual outlets, ensure your electrical panel is properly labeled and that all circuits are functioning. Test GFCI (Ground Fault Circuit Interrupter) outlets in wet areas (kitchens, bathrooms, exterior) and AFCI (Arc Fault Circuit Interrupter) breakers if installed, by pressing their test buttons. The Federal Trade Commission (FTC) advises homeowners to ensure all work, especially electrical and plumbing, meets local code requirements.
Creating Your Detailed Punch List
As you conduct your walk-through, document every item that is incomplete, incorrect, or unsatisfactory. This becomes your "punch list."
- Be Specific: Instead of "fix paint," write "Paint drip on north wall of living room, 2 feet from ceiling, 1 foot from corner."
- Take Photos/Videos: Visual documentation is invaluable.
- Categorize: Group items by room or type of work.
- Prioritize: Note if an item is a minor cosmetic fix or a significant functional issue.
- Discuss with Contractor: Present the punch list to your contractor and walk through each item together. Agree on a clear timeline for completion. Do not release final payment until these items are addressed to your satisfaction.
Phase 2: Collect the Document Set
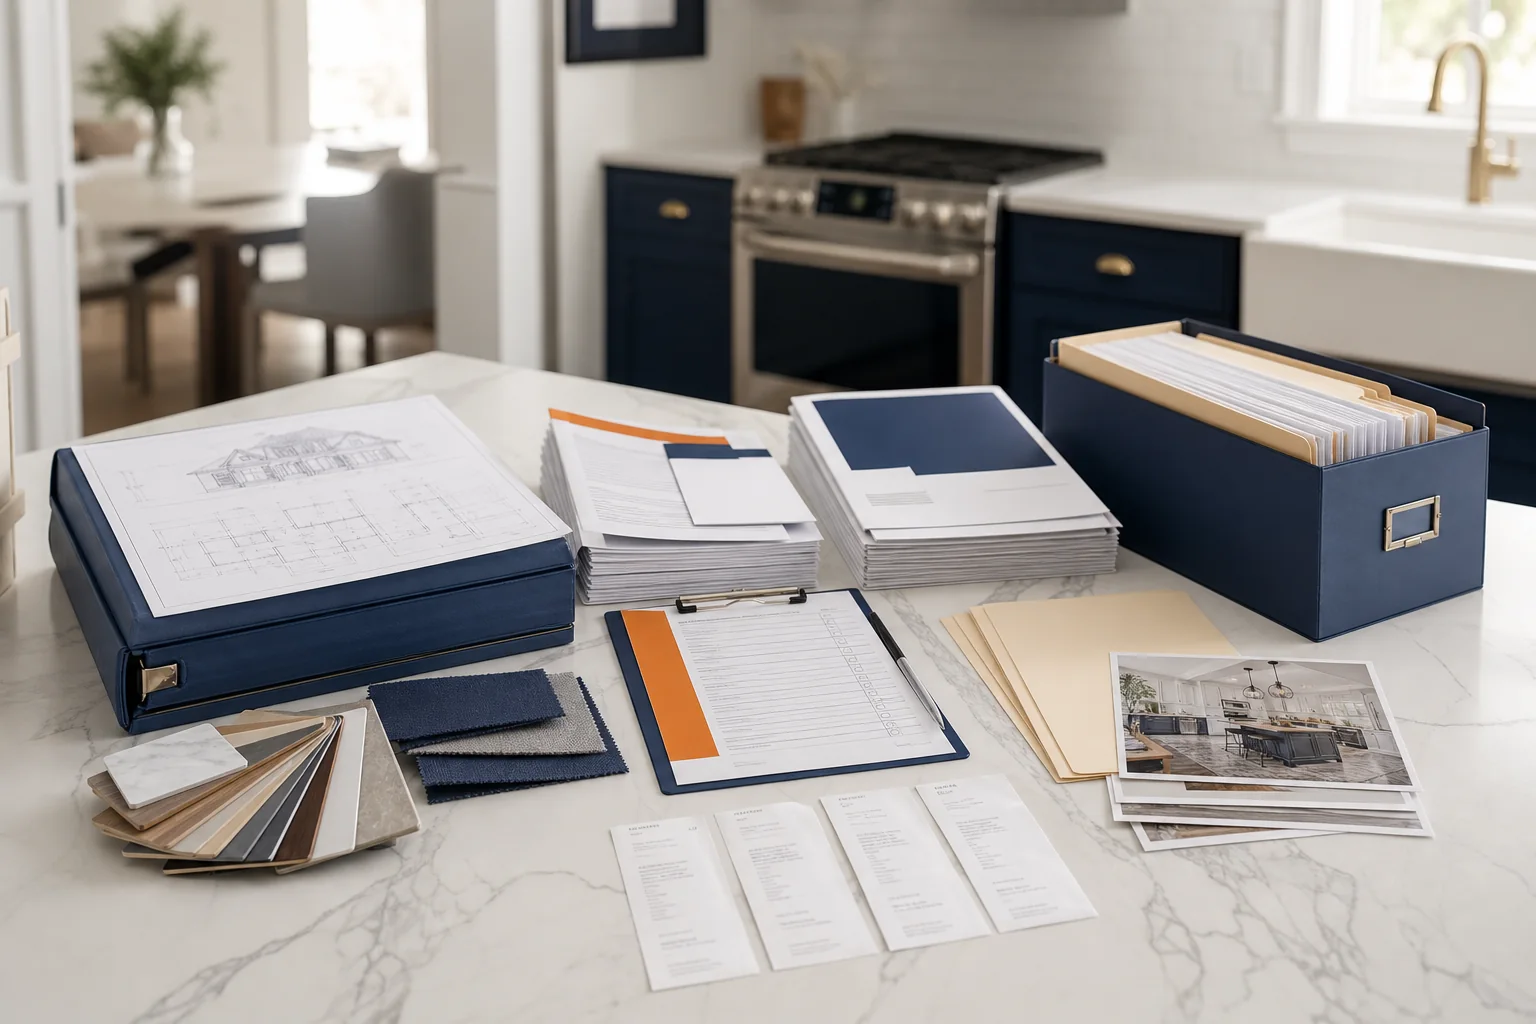
The paperwork associated with your renovation is just as important as the physical work. Collecting and verifying all necessary documents protects you legally, financially, and for future maintenance or resale. This phase is about gathering proof of work, warranties, and compliance.
Financial Records: Invoices and Payment History
You should have a clear record of all payments made throughout the project. At closeout, request a final, itemized invoice that reflects all work completed, change orders, and payments received. Compare this to your own records and the original contract. Ensure there are no unexpected charges and that all credits for materials or services are applied correctly. This documentation is crucial for tax purposes, future home valuation, and in case of any disputes.
Warranty Information: Protecting Your Investment
Warranties are your assurance against defects in materials and workmanship. You need two main types:
- Product/Material Warranties: Collect original warranties for all major products and materials installed, such as appliances, windows, roofing, flooring, and HVAC units. These are typically provided by the manufacturer. Understand what they cover, for how long, and the process for making a claim.
- Contractor's Workmanship Warranty: Your contract should specify the contractor's warranty on their labor and installation. Obtain this in writing, detailing the duration and what it covers. A standard workmanship warranty might be one year, but this can vary.
Keep these warranties in a safe, accessible place. They are invaluable if issues arise after the project is complete.
Permits and Final Inspections: Legal Compliance
For most major renovations, local permits are required. These permits ensure that the work meets local building codes and safety standards. At closeout, you must verify that all necessary permits were obtained and that final inspections have been passed and closed out by the relevant municipal authority. Request copies of all signed-off permits and inspection cards. Without these, you could face legal issues, difficulties with insurance claims, or problems when selling your home. Always confirm local permit requirements before starting any project.
Product Manuals and Specifications: For Future Reference
Gather all user manuals, installation guides, and specification sheets for new appliances, fixtures, and systems. These documents contain critical information for operation, maintenance, troubleshooting, and ordering replacement parts. For example, knowing the specific model number of your new water heater or window brand can save significant time and effort down the line.
Lien Waivers: Securing Your Property
A lien waiver is a document from a contractor, subcontractor, or material supplier stating that they have received payment and waive their right to file a mechanic's lien against your property. This is one of the most critical documents to collect, especially before making final payments. Without proper lien waivers, you could potentially be held responsible for payments to subcontractors or suppliers if your general contractor fails to pay them, even if you've paid the general contractor in full. The FTC emphasizes the importance of obtaining lien waivers to protect yourself. Request waivers from:
- Your general contractor (for their work and as confirmation they've paid their subs).
- All major subcontractors (e.g., plumber, electrician, roofer).
- Major material suppliers.
Ensure the waivers are signed, dated, and specify the project and amount paid. There are different types of lien waivers (conditional, unconditional, partial, final); consult with a local real estate attorney if you have concerns about which type is appropriate for your situation.
Change Orders and Addenda: The Paper Trail of Evolution
Renovations rarely go exactly as planned. Changes to the scope of work, materials, or timeline should always be documented through formal change orders or addenda to your original contract. At closeout, ensure you have signed copies of all change orders. These documents are crucial for understanding the final scope of work, justifying any cost adjustments, and resolving potential disputes. They are a key part of your renovation change order checklist.
Phase 3: Financial Settlement and Final Payments
This phase ties together the physical completion of work and the collection of documents with the final financial transaction. It's imperative that you follow the payment schedule outlined in your contract and ensure all conditions for final payment have been met.
Reviewing the Contract: Your Blueprint for Payment
Before you even consider making the final payment, revisit your original contract. This document is the legal agreement between you and your contractor. Confirm that:
- All work specified in the contract (and any approved change orders) has been completed.
- The quality of work meets the standards outlined or implied.
- All required inspections have passed, and permits are closed.
- All necessary documentation, especially lien waivers, has been provided.
Your contract should clearly define the conditions for final payment. Do not deviate from these terms without a written amendment.
Scrutinizing the Final Invoice
Compare the final invoice provided by your contractor against your contract, all change orders, and your own records of payments made. Look for:
- Accuracy: Does the total match the agreed-upon price, accounting for approved change orders?
- Itemization: Is the invoice sufficiently detailed to understand all charges?
- Credits: Have any credits for materials returned or services not rendered been applied?
- Discrepancies: Question any charges that seem incorrect or were not previously agreed upon.
If you find discrepancies, discuss them with your contractor immediately and seek clarification or correction before proceeding with payment.
Releasing Final Payment: Conditions and Timing
The final payment is often the largest single payment in a renovation project. It should typically be withheld until:
- The punch list is completed to your satisfaction.
- All required documentation, including lien waivers and final inspection approvals, has been received and verified.
- You have conducted a final, satisfactory walk-through.
Paying too early or without all conditions met can leave you with little leverage to resolve outstanding issues. Your contract should specify the final payment amount, often a percentage of the total project cost (e.g., 10-15%). Ensure you pay with a method that provides a clear record, such as a check or bank transfer. Avoid cash payments for large sums, as they leave no paper trail.
Phase 4: Build the Homeowner Archive
Once the project is complete and all documents are collected, the final step is to organize everything into a comprehensive homeowner archive. This archive will be an invaluable resource for future maintenance, repairs, insurance claims, or when you decide to sell your home.

Choosing Your Archive Method: Digital vs. Physical
You can choose to maintain your archive physically, digitally, or a combination of both. The most important factor is accessibility and security.
- Physical Archive: Use binders with dividers for different categories (e.g., Contract, Invoices, Warranties, Permits, Manuals). Keep this in a safe, dry place, perhaps a fireproof safe or filing cabinet.
- Digital Archive: Scan all physical documents and save them as PDFs. Organize them into clearly labeled folders on your computer or cloud storage service (e.g., Google Drive, Dropbox). Ensure you have backups. This method offers easy searchability and sharing.
- Hybrid Approach: Keep critical physical documents (original signed contracts, lien waivers) in a secure physical location, and maintain digital copies of everything for daily access and backup.
Organizing for Easy Access and Future Maintenance
A well-organized archive is useful only if you can quickly find what you need. Consider these categories:
- Project Overview: Original contract, change orders, contact information for the contractor and key subcontractors.
- Financials: All invoices, payment records, and lien waivers. This can also help you track your home's cost basis for tax purposes. You can also use a renovation budget calculator to track your expenses.
- Permits & Inspections: Copies of all permits, inspection approvals, and certificates of occupancy.
- Warranties: Manufacturer warranties for products and the contractor's workmanship warranty.
- Manuals & Specifications: User manuals, installation guides, and product specification sheets for all new materials and equipment.
- Photos: Before, during, and after photos of the renovation. These are invaluable for insurance claims or demonstrating work quality.
- Maintenance Schedule: Create a simple schedule based on product manuals for routine maintenance (e.g., filter changes, sealing, painting cycles).
This archive becomes part of your home's history, providing a detailed record of improvements that can be beneficial for future homeowners as well.
Recognizing Red Flags During Closeout
While most contractors are reputable, it's crucial to remain vigilant during the closeout phase. Certain behaviors can signal potential problems that require immediate attention. Recognizing these red flags can help you protect yourself from financial loss or incomplete work, as highlighted by the Federal Trade Commission (FTC).
Pressure to Pay Early
If your contractor insists on receiving the final payment before all work is completed, the punch list is addressed, or all documentation (especially lien waivers) is provided, consider this a major red flag. Reputable contractors understand that final payment is contingent upon satisfactory completion and the provision of necessary paperwork. Resist any pressure to pay prematurely.
Unwillingness to Provide Documentation
A contractor who is hesitant or refuses to provide lien waivers, product warranties, final invoices, or copies of closed permits is a serious concern. These documents are essential for your protection and the long-term integrity of your renovation. Without them, you could be exposed to liens, warranty voids, or legal issues. Insist on receiving all agreed-upon documentation before releasing final payment.
Unresolved Punch List Items
If the contractor consistently delays or outright refuses to address items on the agreed-upon punch list, this indicates a problem. The punch list represents work that is incomplete or not up to standard. Final payment should be contingent on these items being resolved. Document all communications regarding the punch list and any unfulfilled promises.
Sudden Unavailability
A contractor who becomes difficult to reach, avoids calls, or disappears from the job site during the closeout phase is a significant red flag. This behavior often suggests they are trying to avoid addressing outstanding issues or collecting final documentation. Maintain clear and consistent communication, preferably in writing, throughout the closeout process.
If you encounter any of these red flags, pause the closeout process. Review your contract, consult with a legal professional if necessary, and do not proceed with final payment until your concerns are adequately addressed.
Worked Example: A Bathroom Remodel Closeout
To illustrate the closeout process, let's consider a homeowner, Sarah, who just completed a major bathroom remodel. Her contract included demolition, new plumbing, electrical updates, new tile flooring and shower surround, a new vanity, toilet, and paint.
Initial Contract Review
Sarah begins by reviewing her original contract and all approved change orders. She confirms the scope of work, the agreed-upon materials (e.g., specific tile, vanity model), the payment schedule, and the contractor's workmanship warranty (1 year). The contract specifies a 10% final payment upon satisfactory completion and receipt of all documentation, including lien waivers and final inspection approval.
Walk-Through Findings
Sarah conducts a detailed walk-through with her contractor, Mark, using a checklist similar to the one in this guide. She notes the following items for the punch list:
- Paint: A small paint drip on the ceiling near the shower.
- Vanity: One drawer sticks slightly when opening.
- Tile: A small chip on one floor tile near the toilet, and the grout line around the shower niche is inconsistent.
- Plumbing: The new showerhead has a slight drip after being turned off.
- Electrical: The new exhaust fan is noisier than expected.
- Cleanliness: Some sawdust remains in the vanity drawers.
Mark agrees to address these items within five business days. Sarah takes photos of each issue.
Document Verification
While Mark's team works on the punch list, Sarah requests the final documentation:
- Final Invoice: Mark provides an itemized invoice matching the contract price plus one approved change order for a different shower fixture. Sarah verifies it against her records.
- Warranties: Mark provides manufacturer warranties for the vanity, toilet, shower fixture, and exhaust fan. He also provides a written 1-year workmanship warranty for his company.
- Permits: Mark provides copies of the signed-off plumbing and electrical permits, indicating final inspections passed.
- Manuals: Sarah collects all product manuals and care instructions.
- Lien Waivers: Mark provides a signed lien waiver from his company. Sarah also requests and receives waivers from the plumber and electrician who worked on the project, confirming they've been paid for their work on her bathroom.
- Change Orders: Sarah confirms she has the signed change order for the shower fixture.
Final Payment Process
After five days, Sarah conducts a second walk-through. The paint drip is gone, the vanity drawer slides smoothly, the chipped tile was replaced, the grout line fixed, and the shower drip resolved. Mark explains the exhaust fan noise is within manufacturer specifications, which Sarah verifies with the manual. The sawdust is cleaned. Satisfied that all punch list items are addressed and all documentation is in hand, Sarah makes the final 10% payment to Mark via check, keeping a copy for her records.
Sarah then organizes all her collected documents into a digital folder and a physical binder, creating her homeowner archive for the bathroom remodel. This systematic approach ensures her investment is protected and she has all the information needed for future maintenance or potential issues.
Frequently Asked Questions (FAQs)
Q: What if my contractor disappears before the punch list is complete?
A: This is a significant red flag. First, review your contract to understand the terms regarding incomplete work and final payment. Document all attempts to contact the contractor (emails, calls, certified letters). Do not make the final payment. If you have a performance bond or escrow account, investigate those options. You may need to consult with a local attorney to understand your legal recourse, which could include hiring another contractor to finish the work and pursuing the original contractor for costs. The FTC advises against paying in full before the job is complete to maintain leverage.
Q: How long should I wait to make the final payment after the work is "done"?
A: The timing for final payment should be stipulated in your contract. Generally, you should wait until all work is completed to your satisfaction, the punch list is fully addressed, and you have received all necessary documentation, including lien waivers and final inspection approvals. This period could range from a few days to a week or two, depending on the complexity of the punch list and document collection. Do not rush this step.
Q: What's the most important document to collect at closeout?
A: While all documents are important, signed lien waivers are arguably the most critical for your financial protection. They prevent subcontractors or suppliers from placing a lien on your property if they claim they weren't paid by your general contractor. Without them, you could be forced to pay twice for the same work or materials. Also, ensure you have copies of all final, closed permits.
Q: Can I withhold payment if I'm not completely satisfied?
A: Yes, generally, you can and should withhold final payment until the work is completed to the standards outlined in your contract and all punch list items are addressed. Your contract should specify the conditions for final payment. Withholding payment is your primary leverage to ensure the contractor finishes the job correctly. However, you should only withhold an amount proportionate to the value of the incomplete or unsatisfactory work, not the entire remaining balance for minor issues. Communicate your concerns clearly and in writing.
Q: How do I handle minor issues that appear weeks after closeout?
A: This is where your contractor's workmanship warranty and product warranties become essential. If the issue is related to the contractor's labor or installation, contact them immediately, referencing their warranty. If it's a product defect, refer to the manufacturer's warranty. Document the issue with photos and dates. Most reputable contractors will address warranty claims promptly. If they don't, review your contract for dispute resolution clauses.
Q: Is it necessary to get lien waivers from subcontractors too?
A: Yes, it is highly recommended to get lien waivers from all major subcontractors and material suppliers, in addition to your general contractor. Your general contractor should be able to facilitate this. This provides an extra layer of protection, ensuring that everyone involved in your project has been paid and cannot later file a lien against your home. This is a key component of a robust contractor vetting process.
This guide organizes a project conversation. It is not engineering, legal, code or trade advice. Property conditions and local requirements must be verified by qualified professionals.