Planning a roof replacement is a significant home improvement project that requires careful consideration and informed decisions. This guide provides a comprehensive checklist to help you define your project scope, understand your options, and effectively evaluate contractor proposals. By systematically addressing these 17 key decisions before you sign a contract, you can gain clarity, minimize unexpected costs, and ensure a successful outcome for your home.
Use this article as your personal planning tool. Go through each section, make notes, and use the provided frameworks to prepare your requests for proposals. The goal is to equip you with the knowledge to compare offers on an "apples-to-apples" basis, manage the project effectively, and close out with confidence.
Why a Detailed Roof Replacement Checklist Matters
Your roof is one of the most critical components of your home, protecting your family and possessions from the elements. A roof replacement is a substantial investment, and without clear planning, it can lead to misunderstandings, unexpected expenses, and dissatisfaction. A detailed checklist serves as your roadmap, helping you articulate your expectations to contractors and ensuring that every aspect of the project is considered and agreed upon upfront.
By defining the scope precisely, you empower yourself to compare bids accurately. It helps you identify what's included, what's not, and what potential additional costs might arise. This proactive approach can help you avoid common pitfalls such as vague contracts, unaddressed underlying issues, or disputes over change orders once the work has begun.
Understanding Your Existing Roof and Home's Needs
Before you can plan for a new roof, it's essential to understand the current state of your existing roof and any specific needs your home might have. This initial assessment will inform many of your subsequent decisions.
Current Roof Condition and Underlying Issues
Begin by observing your current roof. Note its age, any visible signs of wear, missing shingles, or areas of discoloration. Have you experienced leaks inside your home? If so, where? These observations can indicate underlying issues that go beyond the surface layer, such as damaged sheathing (the plywood or OSB decking beneath the roofing material) or even compromised framing. A thorough inspection by a qualified professional can help identify these potential issues early, allowing you to include them in your project scope rather than discovering them as costly surprises during tear-off.
Attic Ventilation and Insulation Assessment
Proper attic ventilation is crucial for the longevity of your roof and the energy efficiency of your home. Inadequate ventilation can lead to heat buildup in the summer, which can prematurely age roofing materials, and moisture accumulation in the winter, potentially causing mold or rot. The U.S. Environmental Protection Agency (EPA) highlights that effective moisture control is a key aspect of building design and maintenance, and proper ventilation plays a significant role in preventing moisture-related problems in attics (EPA Moisture Control Guidance). The ENERGY STAR program also emphasizes that adequate attic ventilation helps reduce cooling costs and extend roof life (ENERGY STAR Attic Ventilation). Assess your current ventilation system (e.g., soffit vents, ridge vents, gable vents) and consider if improvements are needed. Similarly, evaluate your attic insulation; a well-insulated attic works hand-in-hand with good ventilation.
Local Regulations and Permits
Permits, licensing, contract rules, and technical requirements vary by location and must be verified locally. Before any work begins, it's critical to understand the specific building codes and permit requirements in your city or county. Most roof replacements require a permit to ensure the work meets local safety and structural standards. Your homeowner's association (HOA), if applicable, may also have specific rules regarding roofing materials, colors, or styles. Failure to obtain necessary permits or adhere to HOA guidelines could lead to fines, project delays, or even the requirement to remove and redo work.
Lead-Based Paint and Asbestos Considerations
If your home was built before 1978, there's a possibility that lead-based paint was used on exterior components, such as fascia boards or trim, which might be disturbed during roofing work. The EPA's Renovation, Repair, and Painting (RRP) program provides information for consumers on lead-safe work practices to prevent lead contamination (EPA RRP Program). Similarly, older roofing materials, particularly certain types of shingles or flashing, may contain asbestos. Disturbing these materials requires specialized handling and disposal procedures to protect health. It is prudent to discuss these possibilities with your contractor, especially if your home is older.
Lock the Project Scope: 17 Key Decisions
This section outlines 17 critical decisions you need to make to clearly define your roof replacement project. By addressing each point, you create a detailed scope of work that can be presented to contractors, ensuring they bid on the exact same project.

Decision 1-4: Project Basics
- Full Replacement vs. Repair/Overlay: Is this a complete tear-off and replacement, or are you considering an overlay (installing new shingles over existing ones)? An overlay may be less expensive initially but can void warranties, add excessive weight, and mask underlying issues. Most experts recommend a full tear-off.
- Tear-Off Depth: If a full replacement, how many layers of existing roofing material need to be removed? Some homes may have multiple layers from previous overlays. Ensure the contractor specifies removing all existing layers down to the sheathing.
- Sheathing Inspection and Replacement Allowance: What is the plan for inspecting the roof sheathing (decking) once the old roof is removed? What is the agreed-upon rate and process for replacing damaged sheathing? It's common to include an allowance for a certain number of sheets (e.g., 1-2 sheets) in the base bid, with a clear per-sheet cost for additional replacements.
- Underlayment Type: What type of underlayment will be installed directly on the sheathing? Options include asphalt-saturated felt (often 15-lb or 30-lb), synthetic underlayment, or self-adhering ice and water shield. Ice and water shield is typically required in vulnerable areas like eaves, valleys, and around penetrations, especially in colder climates. Specify the coverage area for ice and water shield.
Decision 5-8: Material Choices
- Primary Roofing Material: What type of roofing material do you want? Common options include asphalt shingles (e.g., 3-tab, architectural/laminate, designer), metal roofing (e.g., standing seam, corrugated), tile (clay, concrete), or slate. Each material has different costs, lifespans, aesthetics, and installation requirements.
- Color and Style: Once the material type is chosen, select the specific color and style. Obtain samples to see how they look against your home's exterior and in different lighting conditions.
- Flashing Material: What material will be used for flashing around chimneys, skylights, vents, and wall intersections? Common choices include galvanized steel, aluminum, and copper. Specify the gauge or thickness where applicable.
- Fasteners: What type of nails or fasteners will be used to secure the roofing material? Ensure they are appropriate for the chosen material and local climate conditions.
Decision 9-12: Ventilation and Drainage
- Ventilation System: What type of attic ventilation system will be installed or improved? Options include continuous ridge vents with corresponding soffit vents, static box vents, or powered attic ventilators. Ensure the proposed system provides adequate airflow for your attic space, as recommended by the manufacturer of your roofing materials and building science principles (ENERGY STAR Attic Ventilation).
- Gutter and Downspout Replacement/Repair: Will existing gutters and downspouts be removed and reinstalled, or will new ones be provided? If new, specify material, color, and size.
- Drip Edge Installation: Will drip edge be installed along all roof edges? Drip edge helps direct water away from the fascia and prevents water from getting under the roofing material.
- Chimney and Skylight Flashing/Sealing: What is the plan for flashing around chimneys and skylights? Will existing flashing be reused, or will new flashing be installed? Ensure proper sealing methods are specified.
Decision 13-17: Site and Project Management
- Debris Removal and Disposal Plan: How will old roofing materials and other debris be removed from your property? Will a dumpster be used? Where will it be placed? Who is responsible for cleanup?
- Landscaping Protection: What measures will the contractor take to protect your landscaping, shrubs, and exterior features during the project? This might include tarps, plywood, or other coverings.
- Access and Staging Areas: Where will the contractor stage materials, equipment, and dumpsters? Discuss access routes and any potential impacts on your driveway or yard.
- Project Timeline Expectations: What is the estimated start date, duration, and completion date for the project? While weather can impact schedules, having a clear expectation helps with planning.
- Warranty Details: What warranties are offered? This typically includes a manufacturer's warranty on the roofing material and a contractor's warranty on the labor. Understand the terms, duration, and what is covered (and not covered) by each.
For additional resources on home improvement planning, consider exploring our other homeowner guides.
Crafting Your Request for Proposal (RFP)
Once you've made these 17 decisions, you have the foundation for a clear and comprehensive Request for Proposal (RFP). Instead of simply asking for "a roof bid," you can now provide contractors with a detailed document outlining your exact specifications. This ensures that every contractor is bidding on the same scope of work, making their proposals truly comparable. Include all your decisions, material choices, and expectations for site management and cleanup. The more specific your RFP, the less room there is for misinterpretation or hidden costs.
Comparing Contractor Proposals: Ensuring Apples-to-Apples
Receiving multiple bids is a crucial step, but comparing them effectively requires a structured approach. Without a clear framework, it's easy to get lost in varying terminology, inclusions, and exclusions. The goal is to ensure you are comparing "apples-to-apples."
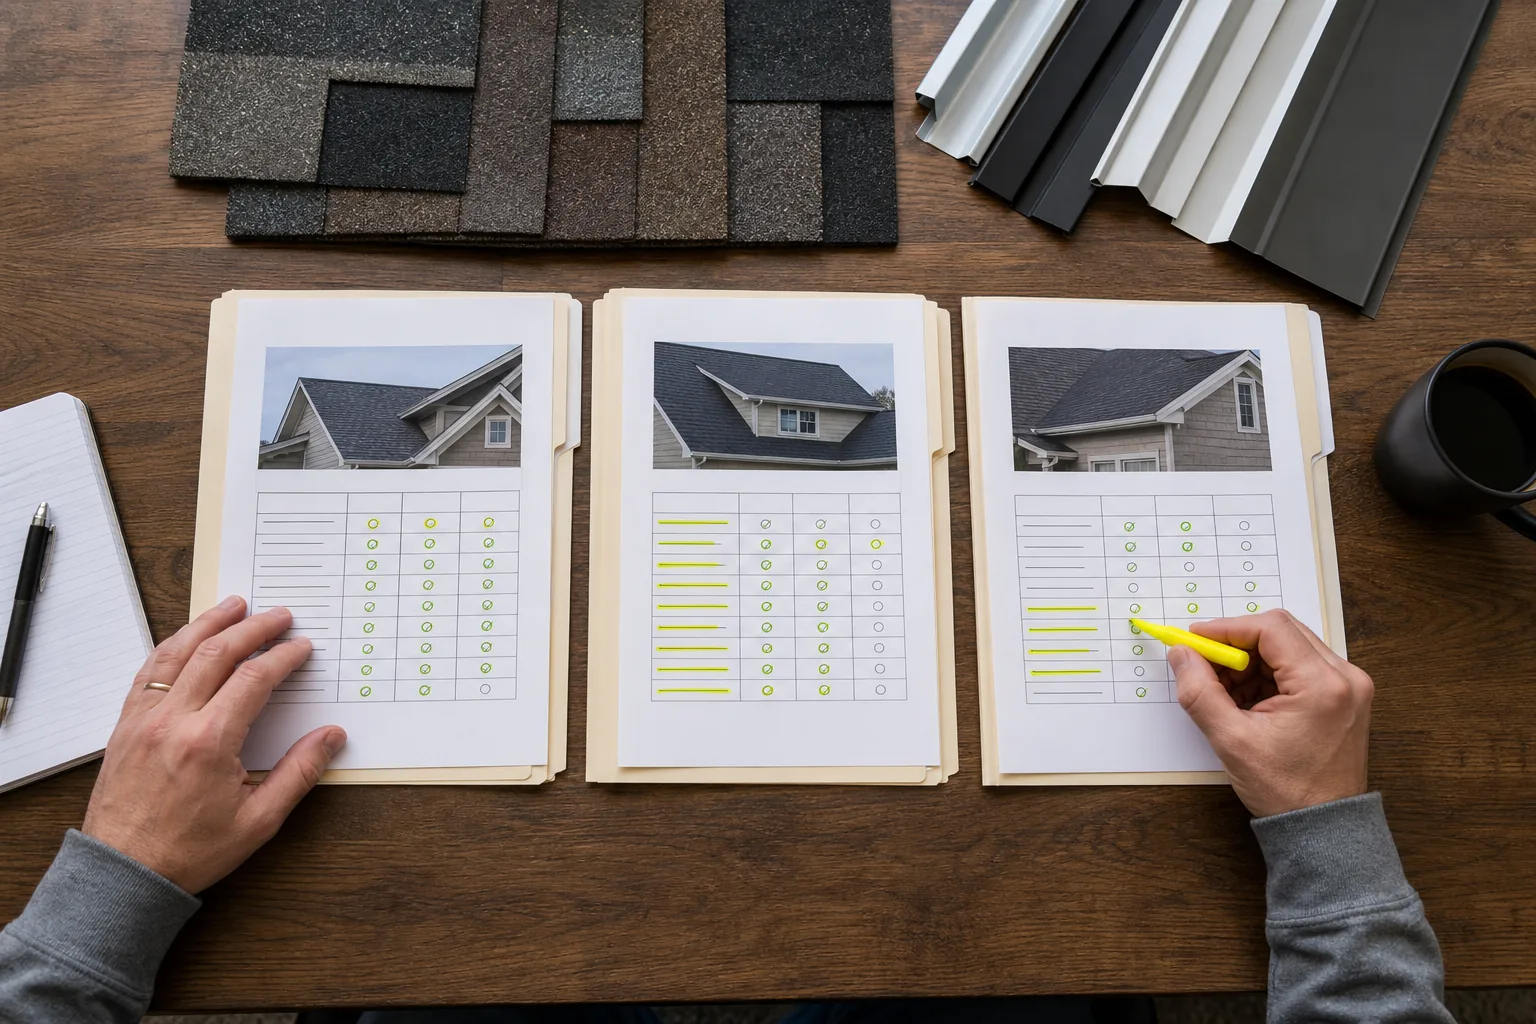
The Comparison Framework
Create a comparison table or spreadsheet to break down each proposal into its core components. This allows you to quickly identify what each contractor includes and excludes, and where their pricing differs for identical items. Here’s a suggested framework:
| Line Item / Decision Point | Contractor A Proposal | Contractor B Proposal | Contractor C Proposal |
|---|---|---|---|
| Project Basics | |||
| Full Tear-Off (all layers) | Yes / No (specify layers) | Yes / No (specify layers) | Yes / No (specify layers) |
| Sheathing Inspection & Replacement Rate | Included (X sheets) / Rate per sheet | Included (X sheets) / Rate per sheet | Included (X sheets) / Rate per sheet |
| Underlayment Type & Coverage | e.g., Synthetic + Ice & Water (6ft eaves, valleys) | e.g., 30lb Felt | e.g., Synthetic |
| Material Choices | |||
| Primary Roofing Material (Manufacturer, Type, Color) | e.g., GAF Timberline HDZ, Charcoal | e.g., Owens Corning Duration, Onyx Black | e.g., GAF Timberline HDZ, Charcoal |
| Flashing Material | e.g., 26-gauge galvanized steel | e.g., Aluminum | e.g., 26-gauge galvanized steel |
| Ventilation & Drainage | |||
| Ventilation System | e.g., Ridge Vent + Soffit Vents (linear feet) | e.g., 6 Box Vents | e.g., Ridge Vent + Soffit Vents (linear feet) |
| Gutter/Downspout Work | Reinstall existing / New (specify) | Reinstall existing / New (specify) | Reinstall existing / New (specify) |
| Drip Edge | Yes / No (Material) | Yes / No (Material) | Yes / No (Material) |
| Site & Project Management | |||
| Debris Removal & Cleanup | Included (dumpster, magnet sweep) | Included (dumpster) | Included (dumpster, magnet sweep) |
| Landscaping Protection | Yes (tarps, plywood) | Yes (tarps) | Yes (tarps, plywood) |
| Manufacturer Warranty | e.g., 50-year limited lifetime | e.g., 30-year prorated | e.g., 50-year limited lifetime |
| Contractor Labor Warranty | e.g., 10 years | e.g., 5 years | e.g., 10 years |
| Payment Schedule | e.g., 10% down, 40% start, 50% completion | e.g., 50% down, 50% completion | e.g., 25% down, 25% start, 50% completion |
| Total Project Cost | $X,XXX.XX | $Y,YYY.YY | $Z,ZZZ.ZZ |
Red Flags to Watch For
While comparing bids, be vigilant for signs that a contractor may not be reputable or that a proposal is incomplete. The Federal Trade Commission (FTC) advises consumers to be wary of high-pressure sales tactics and vague contracts (FTC Home Improvement Scam). Here are some red flags:
- High-Pressure Sales Tactics: Demanding an immediate decision or offering steep "today-only" discounts.
- Vague or Incomplete Contracts: A contract that lacks specific details about materials, scope of work, cleanup, or warranties.
- No Local References or Physical Address: Reputable contractors should have a local presence and be able to provide references from recent, local projects.
- Unusually Low Bids: While a good deal is appealing, a bid significantly lower than others might indicate shortcuts in materials, labor, or a lack of proper insurance and licensing.
- Demanding Full Payment Upfront or Cash Only: The FTC warns against paying for the entire job in advance (FTC Home Improvement Scam). A reasonable payment schedule typically involves a down payment, progress payments, and a final payment upon satisfactory completion.
- Refusal to Provide Proof of Insurance and Licensing: Always verify that the contractor carries appropriate liability insurance and workers' compensation insurance, and is properly licensed in your area.
- No Discussion of Permits: A contractor who dismisses the need for permits or suggests you pull them yourself might be trying to avoid oversight.
A Worked Example: Comparing Two Bids
Let's consider a simplified example without specific market prices. You've requested bids for an architectural shingle roof replacement with full tear-off and new ridge vents.
- Contractor A's Proposal:
- Full tear-off of one existing shingle layer.
- Inspection of sheathing, replacement at an additional rate per sheet.
- Synthetic underlayment across entire roof.
- Ice & Water shield 6 feet up eaves and in all valleys.
- GAF Timberline HDZ shingles, Charcoal color.
- New continuous ridge vent system.
- 26-gauge galvanized steel flashing.
- Includes dumpster, magnet sweep cleanup, tarps for landscaping.
- Manufacturer's 50-year limited lifetime warranty, Contractor's 10-year labor warranty.
- Contractor B's Proposal:
- Full tear-off. (Does not specify layers or sheathing inspection plan.)
- "Standard underlayment." (Does not specify type or ice & water shield coverage.)
- Owens Corning Duration shingles, Black color.
- "New ventilation." (Does not specify type or linear feet.)
- "New flashing." (Does not specify material or gauge.)
- Includes cleanup. (Does not specify dumpster or landscaping protection.)
- Manufacturer's 30-year prorated warranty, Contractor's 5-year labor warranty.
In this example, Contractor A's proposal is significantly more detailed and aligns better with your defined scope. Contractor B's proposal, while potentially appearing lower in cost, is vague. You would need to ask Contractor B for clarification on sheathing, underlayment, ventilation type, flashing material, and cleanup specifics to make a true comparison. Without this clarification, you risk unexpected costs or a project that doesn't meet your expectations.
For help in estimating your overall project budget, you might find our renovation budget calculator useful.
Managing the Project and Controlling Changes
Even with thorough planning, projects can encounter unforeseen circumstances. Effective project management and clear communication are key to handling these situations without derailing your budget or timeline.
Communication and Documentation
Maintain open lines of communication with your chosen contractor. Designate a primary point of contact on both sides. Keep a written record of all significant communications, especially those related to changes in scope, materials, or schedule. Email is often an effective way to document conversations and decisions.
Any modifications to the original contract, whether due to unexpected discoveries (like extensive sheathing rot) or a change of mind on your part, should be formalized through a written change order. A change order should clearly describe the additional work, the revised cost, and any impact on the project timeline. Both you and the contractor should sign and date all change orders before the additional work begins.
Payment Schedules
A well-structured payment schedule protects both you and the contractor. The FTC recommends avoiding large upfront payments (FTC Home Improvement Scam). A typical schedule might involve a reasonable down payment (often 10-30%), followed by progress payments tied to specific milestones (e.g., delivery of materials, completion of tear-off, completion of roofing installation), and a final payment upon satisfactory completion of all work. Never make the final payment until you are completely satisfied with the work and have received all necessary documentation.
Close Out with Evidence and Final Steps
The project isn't truly complete until you've performed a final inspection, received all necessary paperwork, and made the final payment. This closeout phase is critical for ensuring you have documentation for future needs and that the work meets your expectations.

Final Walkthrough and Punch List
Conduct a thorough final walkthrough with your contractor. Inspect the entire roof, paying attention to the quality of installation, proper flashing, and overall aesthetics. Look for any damage to your property (landscaping, siding, gutters) that may have occurred during the project. Create a "punch list" of any items that need correction or completion. Ensure all debris has been removed, and the site is clean, including a magnet sweep for nails around the perimeter of your home.
Warranty Documents and Lien Waivers
Before making your final payment, ensure you receive all warranty documents. This includes the manufacturer's warranty for the roofing materials and the contractor's warranty for their labor. Understand the terms, conditions, and how to file a claim if needed. Additionally, request a lien waiver from the contractor and any major subcontractors or suppliers. A lien waiver is a document that waives their right to place a mechanic's lien on your property if they are not paid. This helps protect you from future claims against your home by parties who supplied materials or labor to the project.
Final Payment and Feedback
Once all punch list items are addressed, you have received all documentation, and you are satisfied with the work, make the final payment as per your contract. Consider providing feedback to your contractor, which can help them improve their services and assist other homeowners in their decision-making process. If you used a third-party financing option, ensure all necessary paperwork is completed to release funds.
Master Roof Replacement Planning Checklist
Use this consolidated checklist to guide you through your roof replacement journey:
- Initial Assessment:
- Assess current roof condition (age, leaks, damage).
- Evaluate attic ventilation and insulation.
- Research local permit requirements and HOA rules.
- Consider lead-based paint/asbestos if home is older than 1978.
- Define Project Scope (17 Decisions):
- Decision 1: Full replacement vs. repair/overlay.
- Decision 2: Tear-off depth (all layers).
- Decision 3: Sheathing inspection and replacement allowance.
- Decision 4: Underlayment type and coverage (felt, synthetic, ice & water shield).
- Decision 5: Primary roofing material (asphalt, metal, tile, etc.).
- Decision 6: Color and style.
- Decision 7: Flashing material (galvanized, copper, aluminum).
- Decision 8: Fasteners.
- Decision 9: Ventilation system (ridge, soffit, box vents).
- Decision 10: Gutter and downspout replacement/repair.
- Decision 11: Drip edge installation.
- Decision 12: Chimney and skylight flashing/sealing.
- Decision 13: Debris removal and disposal plan.
- Decision 14: Landscaping protection.
- Decision 15: Access and staging areas.
- Decision 16: Project timeline expectations.
- Decision 17: Warranty details (material, labor).
- Contractor Selection:
- Prepare a detailed Request for Proposal (RFP) based on your decisions.
- Obtain multiple bids from reputable, licensed, and insured contractors.
- Use the comparison framework to evaluate bids "apples-to-apples."
- Look for red flags (high-pressure sales, vague contracts, no insurance).
- Verify references and contractor credentials.
- Review and understand the contract thoroughly before signing.
- Project Management:
- Establish clear communication channels with the contractor.
- Document all significant communications.
- Ensure all change orders are in writing and signed by both parties.
- Adhere to the agreed-upon payment schedule, tying payments to milestones.
- Project Closeout:
- Conduct a final walkthrough and create a punch list.
- Ensure all punch list items are completed to your satisfaction.
- Obtain all manufacturer's material warranties and contractor's labor warranties.
- Collect all necessary lien waivers.
- Make the final payment only after satisfactory completion and receipt of all documents.
- Provide feedback to the contractor.
This comprehensive approach helps ensure a well-managed and successful roof replacement project. For more insights on general home maintenance, consider reviewing our home maintenance checklist.
Frequently Asked Questions (FAQs)
1. How long does a roof replacement typically take?
The duration of a roof replacement can vary significantly based on several factors, including the size and complexity of your roof, the type of roofing material chosen, weather conditions, and the size of the contractor's crew. For an average-sized residential home, a complete tear-off and replacement might take anywhere from one to several days. Larger or more complex roofs, or those requiring extensive sheathing repair, could take longer. Your contractor should provide an estimated timeline in their proposal.
2. Do I need to be home during the replacement?
While you don't necessarily need to be present every moment of the roof replacement, it is generally advisable to be accessible. You may want to be home at the start of the project to discuss any last-minute details or concerns with the crew, and certainly for the final walkthrough. During the work, being available by phone can be helpful for any questions or unexpected issues that may arise. Many homeowners choose to work from home or stay nearby during the most active phases of the project.
3. What should I do to prepare my home for a roof replacement?
To prepare your home, consider taking several steps: clear your driveway and access points for the crew and materials; move vehicles away from the house; protect sensitive landscaping, outdoor furniture, and decor; remove anything from your attic that could be damaged by vibrations or falling debris; and secure any loose items on walls or shelves inside your home, as vibrations can be significant. Inform your neighbors about the upcoming work to manage expectations regarding noise and debris.
4. What if I suspect mold or rot during the tear-off?
If the contractor discovers mold, rot, or other structural damage to the sheathing or framing during the tear-off, they should immediately stop work in that area and inform you. This is where a clear plan for sheathing replacement (Decision 3) becomes crucial. The contractor should assess the extent of the damage, explain the necessary repairs, and provide a written change order detailing the additional work and cost. It's important to address these issues promptly to ensure the structural integrity and longevity of your new roof.
5. How do I handle unexpected issues or change orders?
Unexpected issues, such as discovering extensive hidden damage, or changes you request after the project has started, should always be handled through a formal change order process. Insist that all changes to the original scope of work, materials, or cost be documented in writing, signed by both you and the contractor, before any additional work proceeds. This helps prevent misunderstandings and protects both parties. Maintain open communication and ask for clear explanations of why a change is necessary.
6. What kind of warranties should I expect?
You should expect two primary types of warranties: a manufacturer's warranty on the roofing materials and a contractor's warranty on the labor. Manufacturer warranties typically cover defects in the materials themselves and can range from 20 years to limited lifetime, often with prorated coverage after an initial period. Contractor labor warranties cover the quality of the installation and usually last for a shorter period, such as 2 to 10 years. Carefully review the terms and conditions of both warranties, including what they cover, exclusions, and the process for filing a claim.
This guide organizes a project conversation. It is not engineering, legal, code or trade advice. Property conditions and local requirements must be verified by qualified professionals.